Hi guys, I like citrus flavour in all my desserts The tanginess, the freshness from those fruits are jut irresistible.
These cookies are crisp on the outside and soft in the middle with a wonderful freshness from the lemons in every bite...
Now on to the recipe...

Prep time: 15 Cook time: 12
Total time: 27Yield: 18 to 20 cookies
Ingredients:
Whole Wheat Flour: 3/4 cup
Powdered Sugar: 1/2 cup + 2 tsp
Baking Powder: 1 tsp
Salt: a pinch
Butter: 70 g ( room temperature )
Milk: 1/4 cup
Lemon juice: 1 tbsp + 1 tsp
Lemon Zest: Zest of 1/2 lemon
Procedure:
Preheat the oven at 180 C for 10 minutes.
Sieve wheat flour, salt,and baking powder twice for even mixing.
Add 1 tsp of lemon juice to the milk and set it aside for 5 minutes.
After 5 minutes you can see that the milk has curdled.
Now whisk the powdered sugar with butter until nice and creamy ( I just used my hand whisk, you can use a beater too )
Now add 1 tbsp of lemon juice and the curdled milk and just mix, no need to beat.
Add in your dry ingredients batch by batch and just fold.
Finally add the lemon zest and give a quick mix. The dough will be little sticky.
Make small sized balls and place them on a baking tray lined with parchment paper. Press down the cookie lightly with a fork and bake for 10-12 minutes.(Optionally before baking, you can sprinkle some powdered sugar on the top)
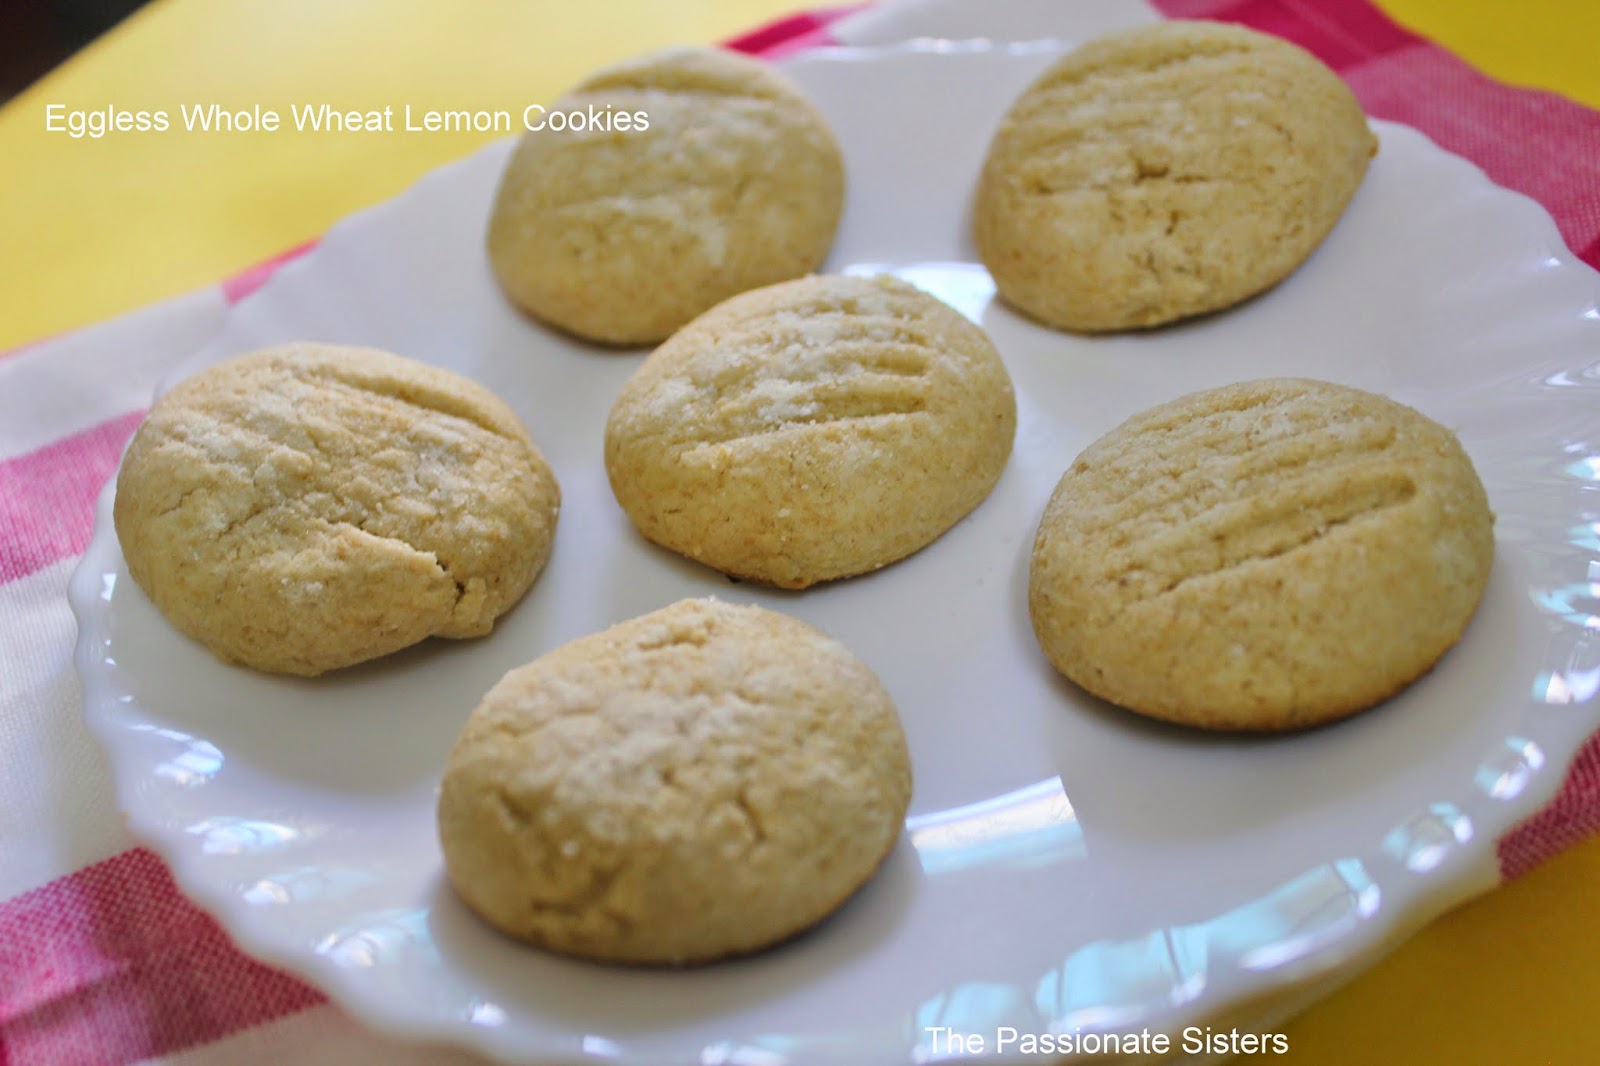
Cookies are done.Enjoy!!!!!!!!!!!!!

Notes
If the dough is too sticky add a tsp of flour not more than that.
To make the balls little easily, you can keep the dough in the fridge for 1/2 an hour.
Always don't overwork the cookie dough. Overworking develops gluten and will make the cookies tough.
Cheers
Jayanthi B
These cookies are crisp on the outside and soft in the middle with a wonderful freshness from the lemons in every bite...
Now on to the recipe...

Eggless whole Wheat Lemon Cookies
Perfect tea time cookies loaded with lemon flavour!!!Prep time: 15 Cook time: 12
Total time: 27Yield: 18 to 20 cookies
Ingredients:
Whole Wheat Flour: 3/4 cup
Powdered Sugar: 1/2 cup + 2 tsp
Baking Powder: 1 tsp
Salt: a pinch
Butter: 70 g ( room temperature )
Milk: 1/4 cup
Lemon juice: 1 tbsp + 1 tsp
Lemon Zest: Zest of 1/2 lemon
Procedure:
Preheat the oven at 180 C for 10 minutes.
Sieve wheat flour, salt,and baking powder twice for even mixing.
Add 1 tsp of lemon juice to the milk and set it aside for 5 minutes.
 |
 |
 |
After 5 minutes you can see that the milk has curdled.
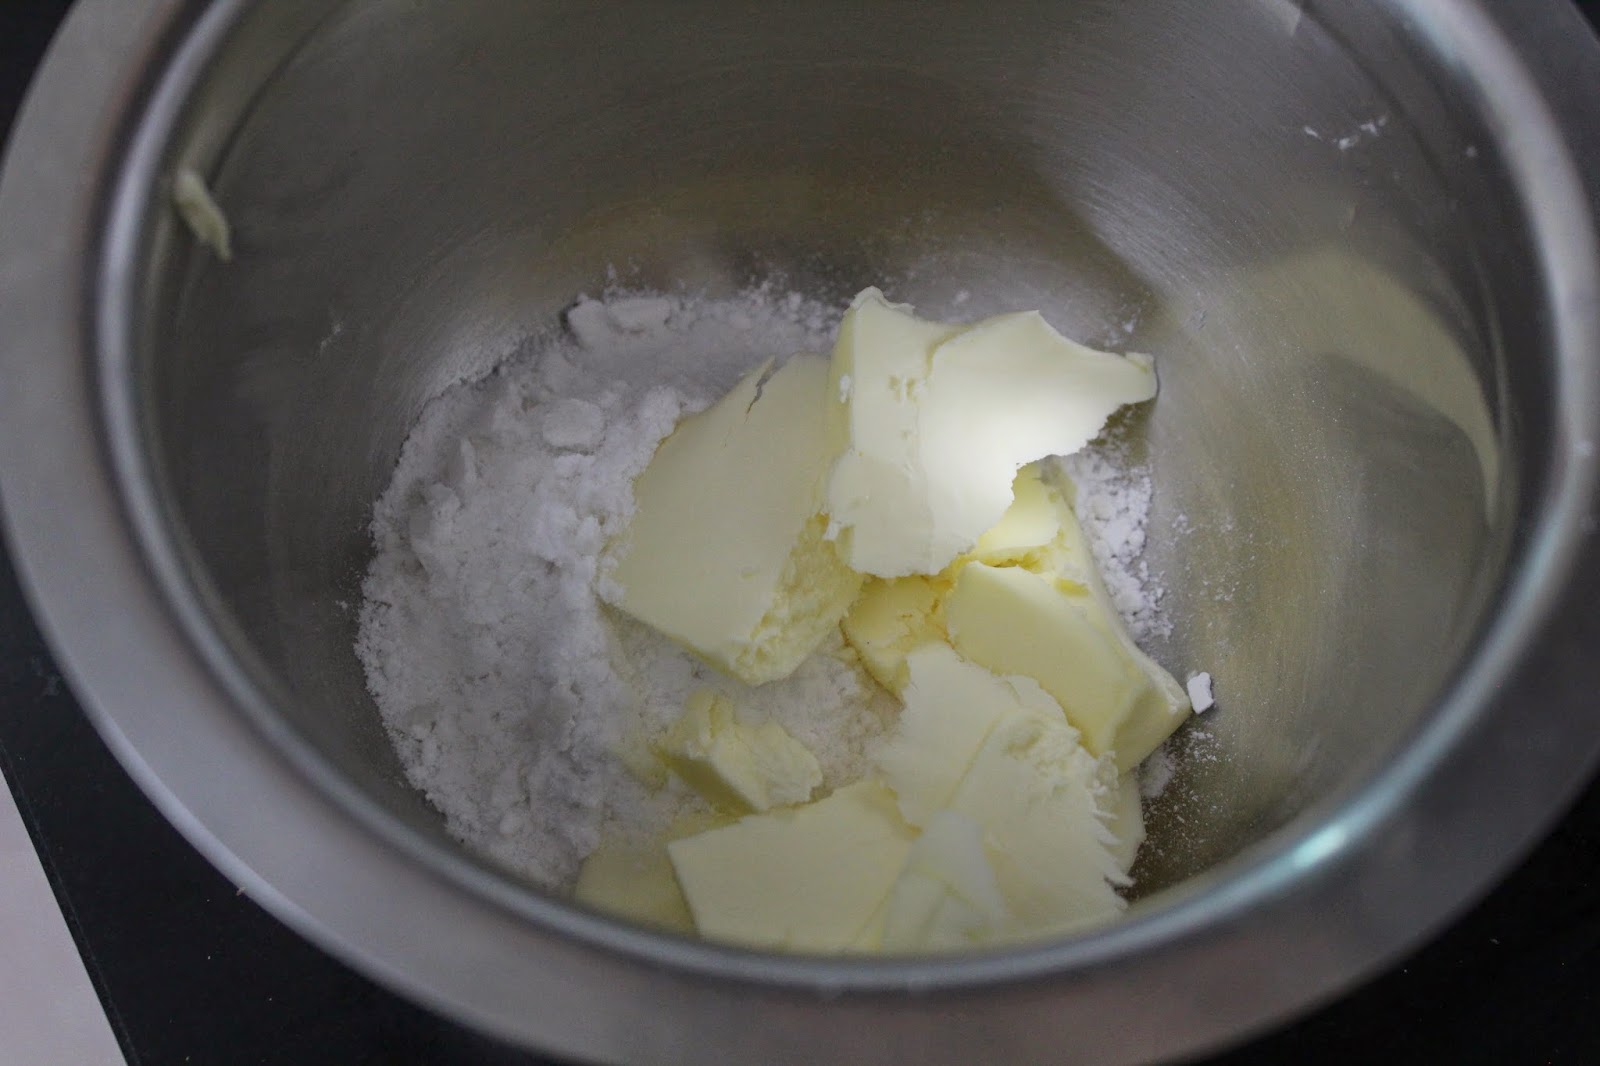
Now whisk the powdered sugar with butter until nice and creamy ( I just used my hand whisk, you can use a beater too )
 |
 |
 |
Now add 1 tbsp of lemon juice and the curdled milk and just mix, no need to beat.
Add in your dry ingredients batch by batch and just fold.
 |
 |
 |
Finally add the lemon zest and give a quick mix. The dough will be little sticky.
Make small sized balls and place them on a baking tray lined with parchment paper. Press down the cookie lightly with a fork and bake for 10-12 minutes.(Optionally before baking, you can sprinkle some powdered sugar on the top)
 |
 |
Cookies are done.Enjoy!!!!!!!!!!!!!

Notes
If the dough is too sticky add a tsp of flour not more than that.
To make the balls little easily, you can keep the dough in the fridge for 1/2 an hour.
Always don't overwork the cookie dough. Overworking develops gluten and will make the cookies tough.
Cheers
Jayanthi B